
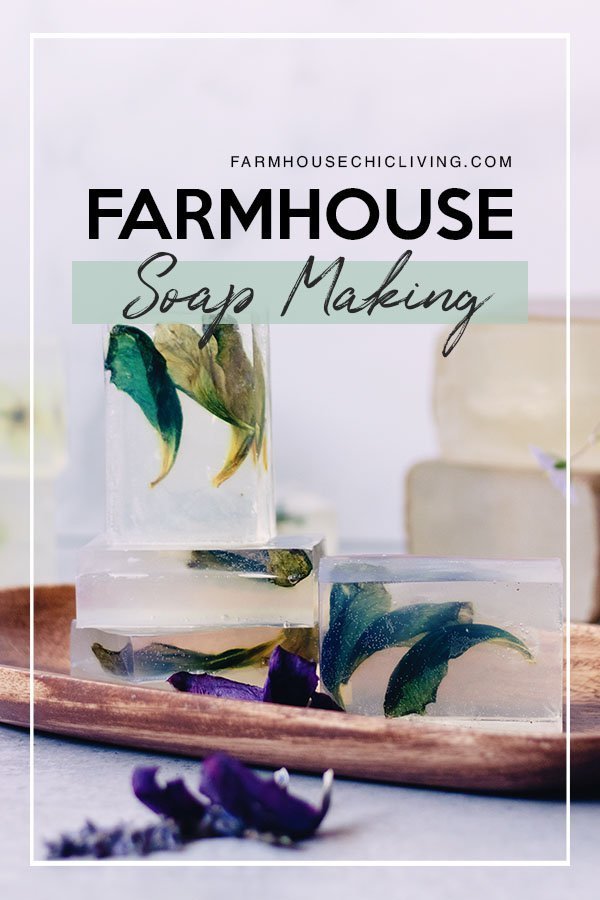
Pressed Flowers Clear Soap Bar Recipe
If You Love the Look of Pressed Flowers, You’ll Adore This Pressed Flower Clear Soap Bar Recipe
How to make soap with pressed flowers in a clear soap bar using Victorian flower pressing techniques: a traditional Victorian pastime.
Collecting and preserving flowers and leaves has always been second nature to me. I loved to tuck them into my countless diaries and scrapbooks in my youth. It was a treasured pastime I now share with my young daughter.
According to the Smithsonian Gardens, it was a highly popular Victorian pastime during the 19th century shared by both men and women. The activity of pressing flowers and other botanicals served both scientific and sentimental interests.
In fact, pressed flowers actually became an important part of botanical history that lead to new discoveries and improved our view of the botanical world at large. Many would say the art of pressed flowers was quintessential to Victorian times. Flowers played a well-documented, important role in Victorian home decor. Depicted in wallpapers, rugs, drapes, delicate embroidery, upholstery, and the carvings of wood furniture and moldings.
If you’ve begun to share this pastime too and are wondering what to do with pressed flowers or are thinking about learning how to preserve pressed flowers, you’ve come to the right place!
Combining my love of handmade soap with the art of pressed flowers is a marvelous way to capture the delicate beauty of our botanical world.
Handmade soaps are not only practical for use in our farmhouse, but make beautiful gifts at any time of the year. Preserving pressed flowers from a trip or adventuring, a special occasion such as a wedding or graduation, or simply documenting the wildflowers around your farm is a memorable and satisfying process I know you’ll treasure too.
This post contains some affiliate links for your convenience; read the full disclosure policy.
How to Preserve Pressed Flowers in Soap
Adding pressed flowers to soap is actually quite easy. But, in order to keep flowers from turning brown in the soap, you need to avoid exposing them to active lye. It’s an important ingredient in the saponification process that you can’t leave out.
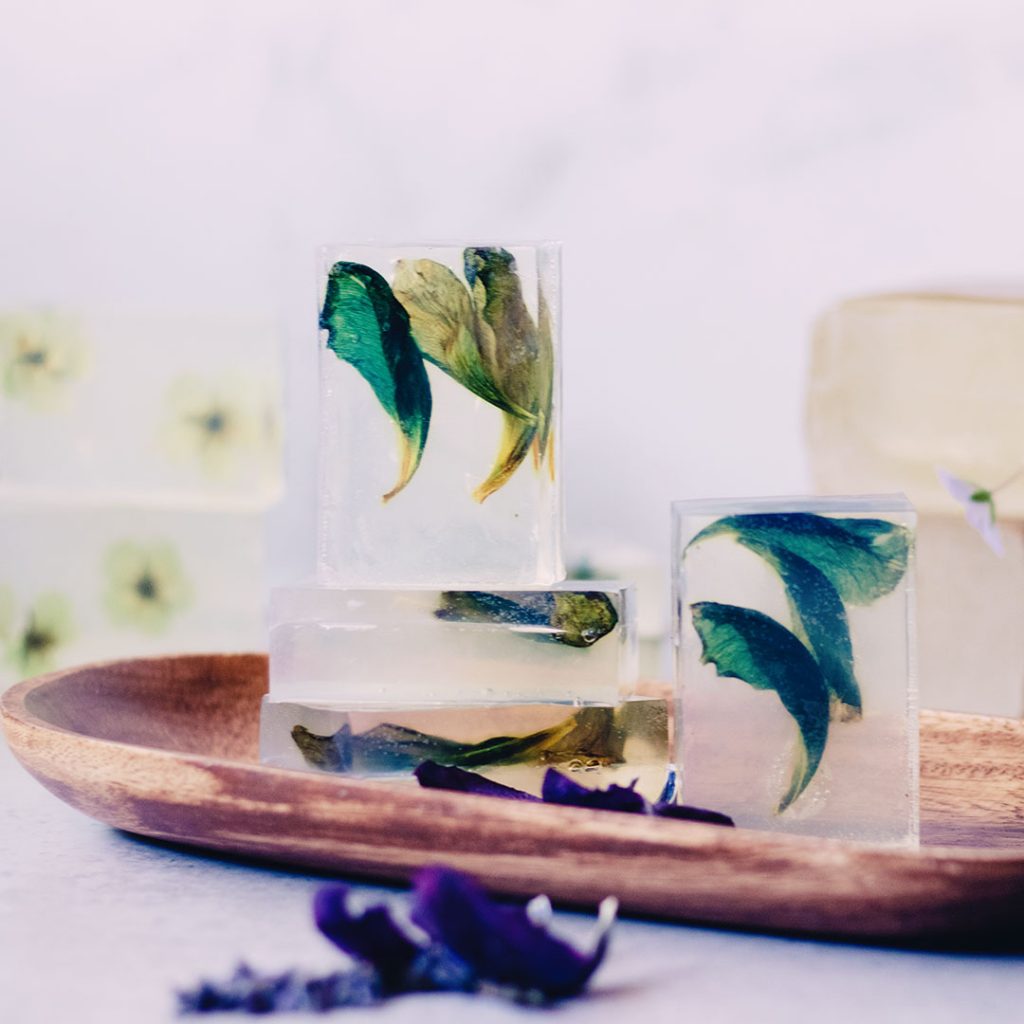
However, the good news is you can skip ahead and use a clear soap base that has already gone through the process of saponification. A clear soap base creates a transparent soap bar, allowing you to clearly see the pressed flowers preserved in the soap. Just like you see in the photo above!
Related To: A Quick Start Guide to Make Candles at Home
The Best Flowers to Press and Use in Soap Making
I’ve found the easiest flowers to press are those which have naturally flat blooms, such as daisies, violets, or chrysanthemums. You can also pluck the petals of trumpeted flowers or roses for pressing too. And herbs including lavender, calendula, and chamomile make beautiful flowers for soap making as well.
Keep in mind if you are pressing flowers with stamens like lilies, remove them first, or the pollen will stain while drying. And last but not least, small blooms will fit well in soap molds versus large types like sunflowers and larkspur.
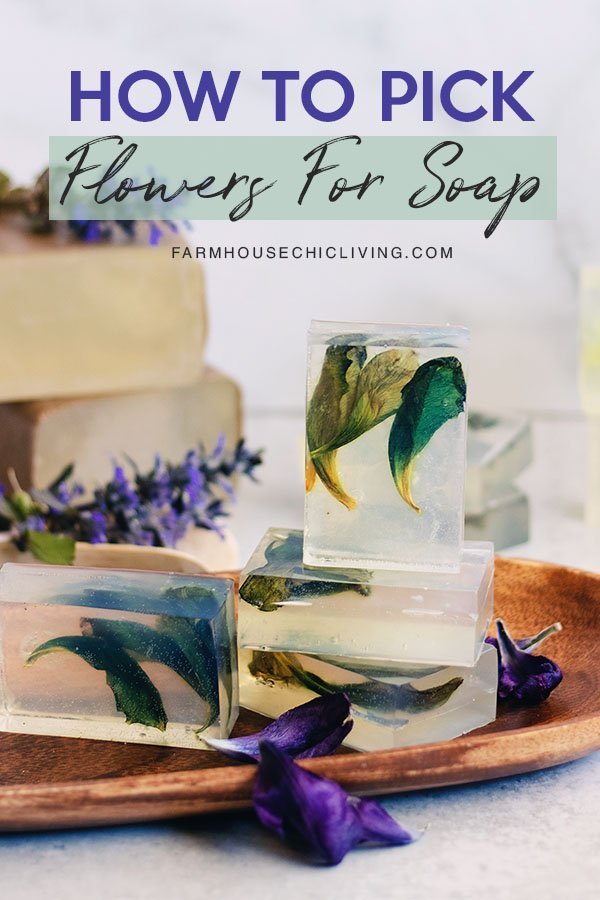
Picking Flowers for Soap Making
If you’re picking wildflowers as my daughter and I did in our prairie on the hill just before the woodlands begin, fresh blooms are key. Look for flowers that have either just bloomed or are still in the bud stage. This is important because the flower will continue to open after being cut. So, if a bloom is fully open, it’s likely to drop some of its petals.
The best time to pick flowers for drying is in the morning right after the dew has evaporated. Consider the quality of the bloom at picking time, as the better it is, the better it will look when dried and pressed. Therefore, choose flowers that are clean and free of water spots or tears.
After picking flowers for soap making, you’re ready to begin the preserving process. If you’ve collected flowers at a time that you can’t press right away – you can store them in a resealable or reusable sandwich bag in the refrigerator.
Why press flowers before adding to soap?
Pressed flowers are able to maintain their natural color for a very long time! Most pressed flowers will last five to seven years before they will show any amount of fading. Pressing flowers first not only removes excess moisture but helps them retain their color in soap.
When you are ready to press those you have picked, there are a few flower pressing techniques you can choose from, including those loved by Victorians to ensure the flowers keep their color and their petals.
How to Press Flowers: 4 Ways to Preserve Flowers for Soap Making
How do you make a pressed flower?
It’s relatively simple once you’ve collected your flowers and can be achieved with or without a flower press. You can choose a classic Victorian flower pressing technique or a faster modern method. The time it takes for a pressed flower to dry will heavily depend on your choice. It can range from a few minutes to a few weeks to complete the drying and pressing process. With a little experimenting, you’ll find what technique suits you best. Start with any one of these ways to preserve flowers for soap making.
1. How to Press Flowers in a Book:
The first method I will share with you is the easiest way to press flowers. It doesn’t require any unique equipment or electricity. All you need is a few sheets of parchment paper to absorb moisture from the flowers and a heavy book or journal. This makes this technique a great choice if you are adventuring or traveling.
- Begin by placing a layer of tissue or parchment paper inside the pages of an open book. I prefer to use unbleached recycled parchment paper.
- Arrange your flowers on the paper and place another sheet of paper on top. So, your flowers will basically be sandwiched between paper.
- Turn to the next page and repeat until you have used up all your blooms. Then close the book to begin the flower pressing process.
- Check flowers every 5 to 7 days and replace the parchment paper if needed. Flowers will completely dry in 2 to 3 weeks.
- After drying, remove the flowers carefully when you’re ready to use them. They will stay preserved in the book for years to come.

2. How to Use a Wood Flower Press:
In Victorian times this method was called a field press. It was composed of two boards of wood, leather straps, and blotting paper. This flower pressing technique resulted in a more precise specimen and plant color confirmed by the Smithsonian Gardens.
While in my youth, I used the first method above, but as an adult, I was gifted a wood flower press from my mother’s youngest sister a few years ago. (She has four sisters, including her identical twin.) And it is now the method I use for pressed flowers.
- Cut parchment paper to fit the size of your wood flower press. Arrange flowers on a pre-cut sheet and layer with another sheet to create a sandwich.
- Stack “sandwiches” of flowers between the two wood boards of the press. (Some wood flower presses, like mine, come with corrugated cardboard. You can place your flower stacks in between these as well.) Then tightly close with screws or leather straps, depending on your wood flower press.
- Store it in a dry place and replace the paper as needed. Flowers will typically dry in 1 to 2 weeks.
3. How to Press Flowers Using an Iron:
Moving to modern flower pressing methods, using an iron to dry flowers considerably speeds up the process. Before using this technique, make sure your iron is empty of water – steam should not be used when pressing flowers.
- Create a “flower sandwich” as described in the second method above. Then place a heavy book on top to flatten the flowers while the iron heats up on the lowest setting.
- Once warm, press the iron on top of the upper sheet of paper for 10 to 15 seconds. There’s no need to make a gliding motion as you would when ironing a shirt.
- Next, remove the iron and allow the flower sandwich to cool for 15 seconds. Then repeat by pressing with the iron for another 15 seconds.
- Allow to cool again, and carefully lift the paper to see if the flower is dry and stiff. Once completely dry they are ready to use!
4. How to Press Flowers Using a Microwave:
If your fingers are weary of a hot iron too, then the microwave flower drying technique might be for you? Just keep in mind, that using high heat on flowers could cause them to turn brown and even burn them. But if you want to give it a go, a professional microwave press is ideal. It is designed for faster drying in the convenience of the microwave. The modern woman’s sous chef, right?
- For best results, follow the directions that are included with your microwave press. But, they typically start with arranging your flowers between parchment paper and placing them inside the microwave press.
- Next, zap the flowers dry in 30 to 45 second intervals, allowing the flowers to cool for 1 minute in between zaps. You may find it is handy to work with a group of 2 or 4 “flower sandwiches”, alternating between zapping and cooling, so you’re not just standing there watching the clock…
- Once dry, you can use the dried flowers in soap or finish pressing by placing a stack of books on top of your zapped “flower sandwiches” for a day or two.
Once you’ve mastered the art of flower pressing, you’ll likely be hooked and planning a day to cut fresh blooms from your garden or forage with a walk through the prairie. After, you’ll be ready to fill clear soap bars with all your exquisite pressed blooms!
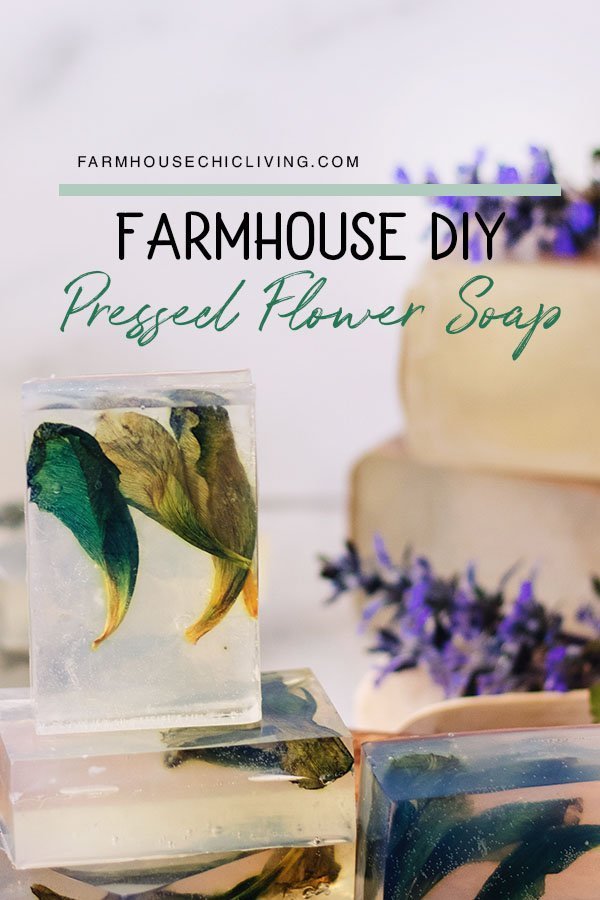
Pressed Flowers Clear Soap Bar Recipe
CLEAR SOAP INGREDIENTS:
- 2 lbs aloe vera clear soap base
- ¼ cup pressed flowers
- 50 drops essential oil or 1 tablespoon of natural fragrance oil
HOW TO MAKE CLEAR SOAP WITH PRESSED FLOWERS
1. Chop & Measure Soap:
Chop 2 pounds of aloe vera clear soap base with a soap knife into 1-inch chunks.
Using a digital scale weigh, place a large glass measuring cup on the scale. Tare the weight of the measuring cup and add soap chunks until you reach one pound of clear soap base.
2. Melt Soap
Place the soap chunks in the glass measuring cup into the microwave. Melt soap in 30 seconds intervals, stirring in between with a heat-resistant silicone spatula for 1.5 to 2 minutes total.
3. Add Scent to Soap
Once melted, remove the soap from the microwave and add half of your choice of scent. So either 25 drops of essential oil or ½ tablespoon of natural fragrance oil. Stir well to incorporate the scent.
4. Add Pressed Flowers & Pour Soap
Use a layering technique to add flowers to melt and pour soap. Start pouring half an inch of melted soap base into 9 molds of a rectangle silicone mold. Next, carefully place pressed flowers in the melted soap. Use a toothpick as needed to carefully arrange flowers. They may float to the top as the soap begins to harden.
Spray the soap with rubbing alcohol to prevent bubbles from forming. Allow these first layers to cool for 5 to 15 minutes. Then repeat steps 2 and 3 to melt and scent the 2nd pound of soap in the recipe.
After, pour melted soap over the first layers to seal in the pressed flowers. This time the pressed flowers should not float to the top of the soap as they should already be set in the soap that has begun to harden. And this step will also ensure a smooth surface for the clear soap bar. (I learned this layering technique after a little trial and error.)
My four-year-old daughter and I picked the wildflowers you see in this soap on Mother’s Day this year. By pressing the flowers to preserve them and using several to make these gorgeous clear soap bars, I am reminded of that memory.
- Easy Pressed Flower Candle Craft
- How To Press Flowers In A Book
- How to Clean Mattress Stains and Deodorize
- Wooden Egg Craft
- Easy Dried Orange Wreath
What flowers are you going to press to make soap? Let me know in the comments or tag #farmhousechicliving on Instagram to share your soap making and pressed flowers with me. Pin these 4 techniques to pressing flowers now to come back to later or share with a friend.